Get Backend API for Online Food Ordering App In React Native
Customize the online food ordering app in react native frontend as you need. The backend API comes with a license—schedule a discussion with our team to gain access. Demos and documentation are ready.

Frequently Asked Questions
Choosing React Native for building a food ordering app comes with several advantages: 1. Cross-Platform Development Single Codebase: React Native allows you to write code once and deploy it on both iOS and Android, significantly reducing development time and costs. 2. Performance Native Components: React Native renders components using native APIs, resulting in a smooth and responsive user experience, comparable to fully native apps. 3. Hot Reloading Instant Feedback: Developers can see the results of their changes in real-time without needing to recompile the entire app, speeding up the development process. 4. Large Community and Ecosystem Support and Resources: A vast community means access to numerous libraries, plugins, and resources, making it easier to find solutions and enhancements. 5. Rich User Interface UI Components: React Native provides a variety of pre-built components that help create visually appealing and user-friendly interfaces, essential for food ordering apps. 6. Integration with Third-Party Services APIs and SDKs: React Native easily integrates with third-party services (like payment gateways and mapping services), which are crucial for food ordering apps. 7. Rapid Prototyping Quick Development: Its component-based architecture allows for rapid prototyping and iteration, helping to quickly test and validate ideas. 8. Strong Performance Optimized Rendering: React Native optimizes rendering by using a virtual DOM and minimizing the number of updates, ensuring the app runs smoothly even under load. 9. Modular Architecture Ease of Maintenance: The modular approach allows developers to maintain and update the app easily, which is important for adding new features or fixing bugs. 10. Cost-Effective Reduced Development Costs: By using a single codebase for multiple platforms, businesses can reduce the cost of hiring separate teams for iOS and Android development.
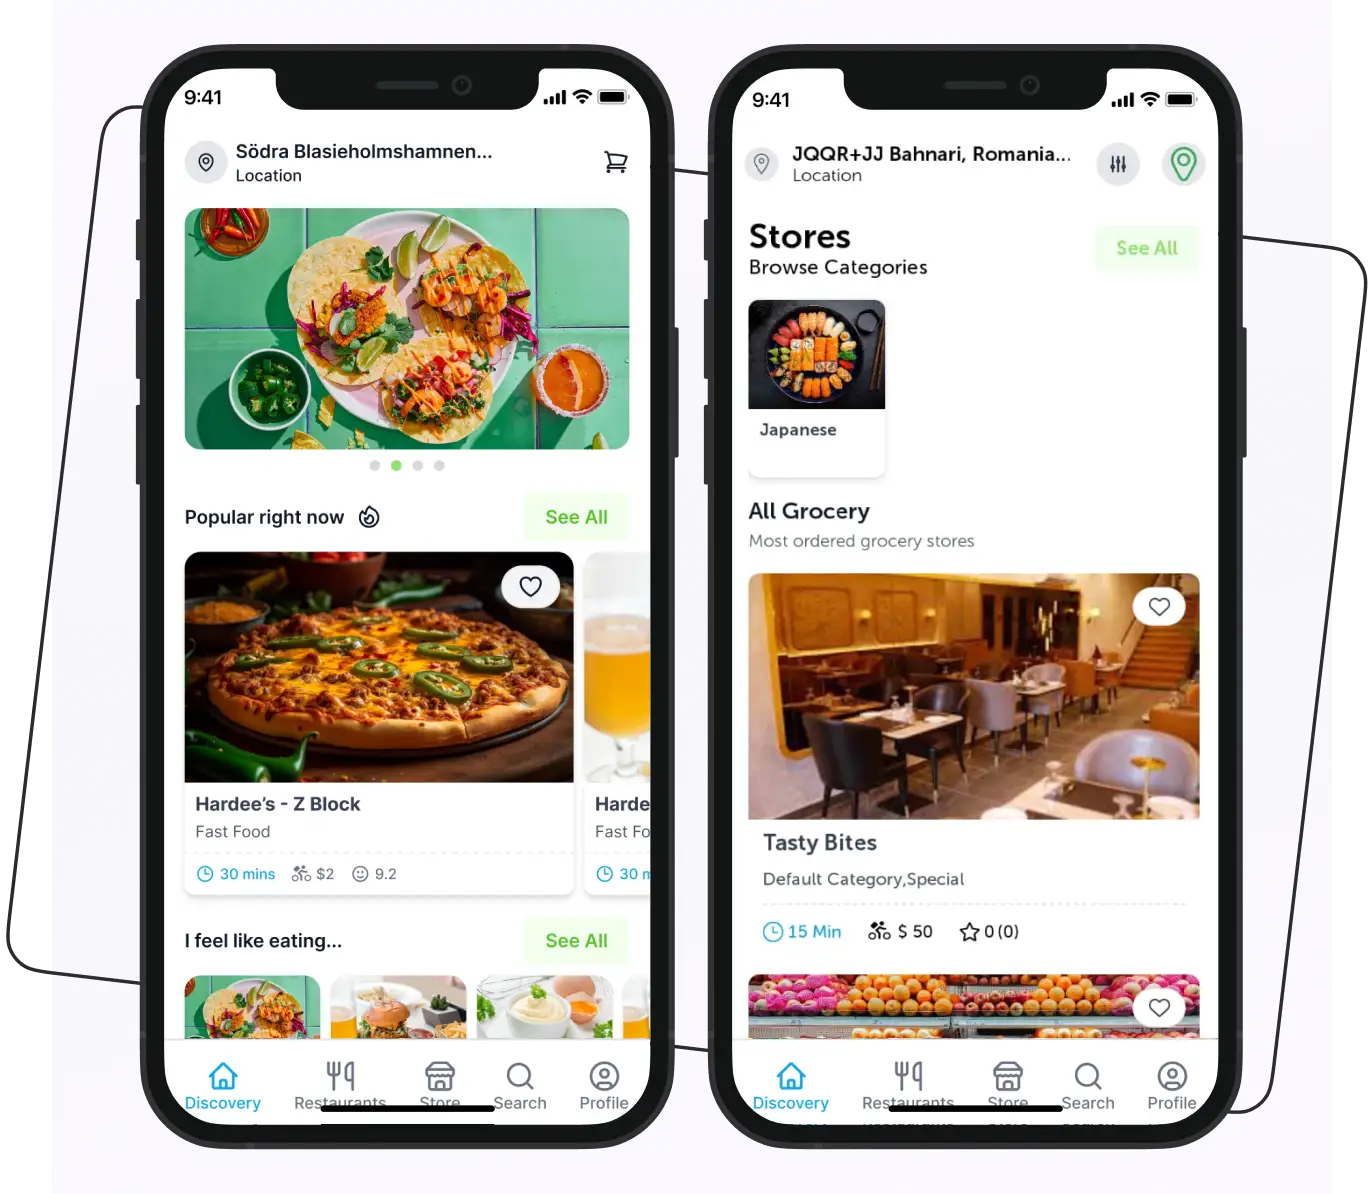
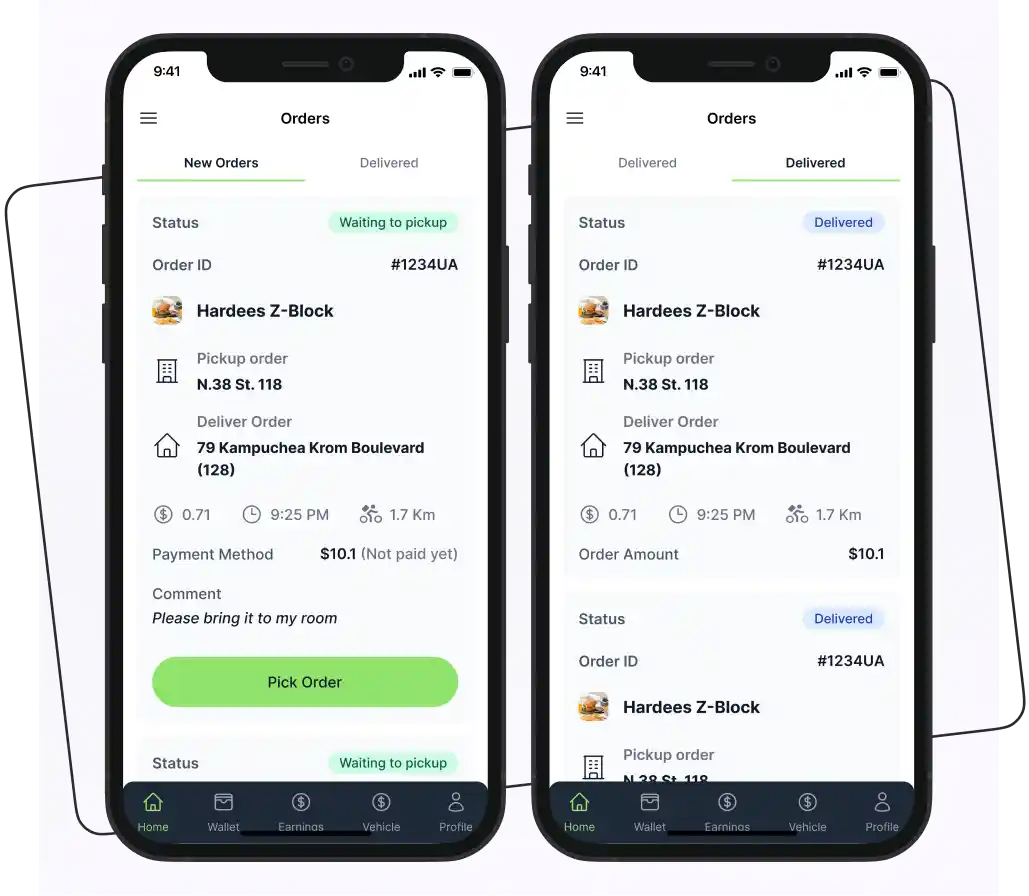
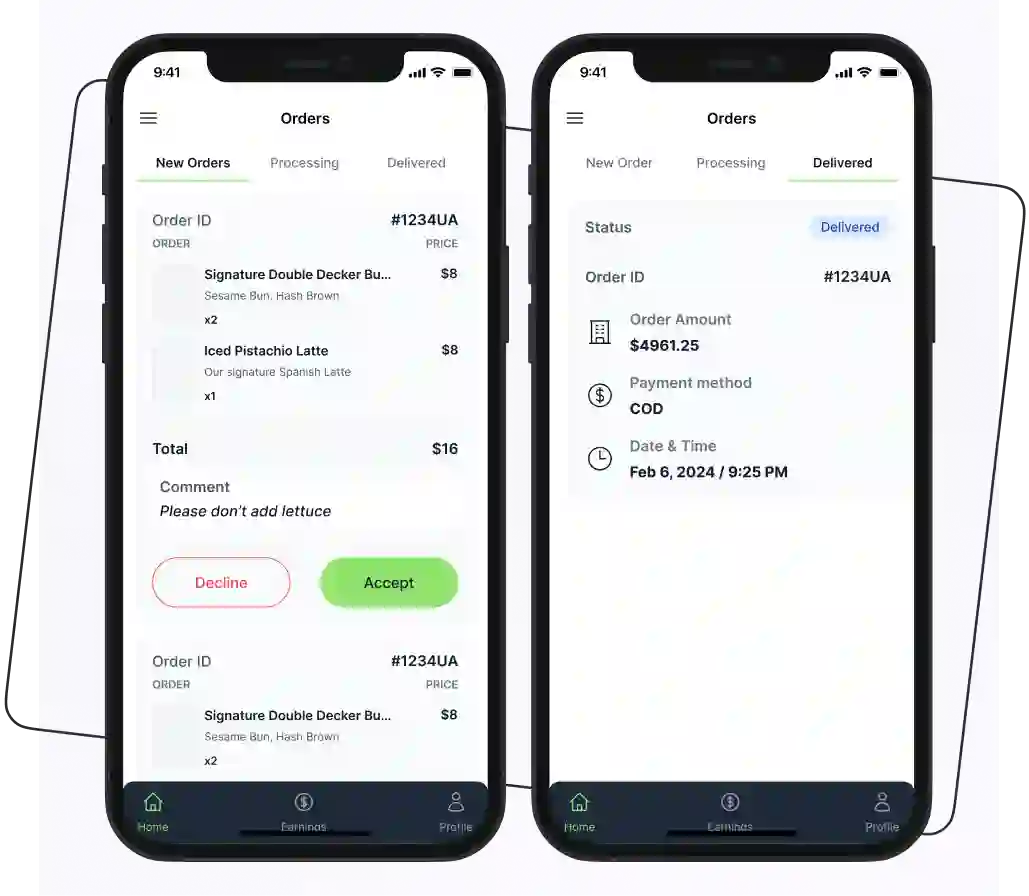
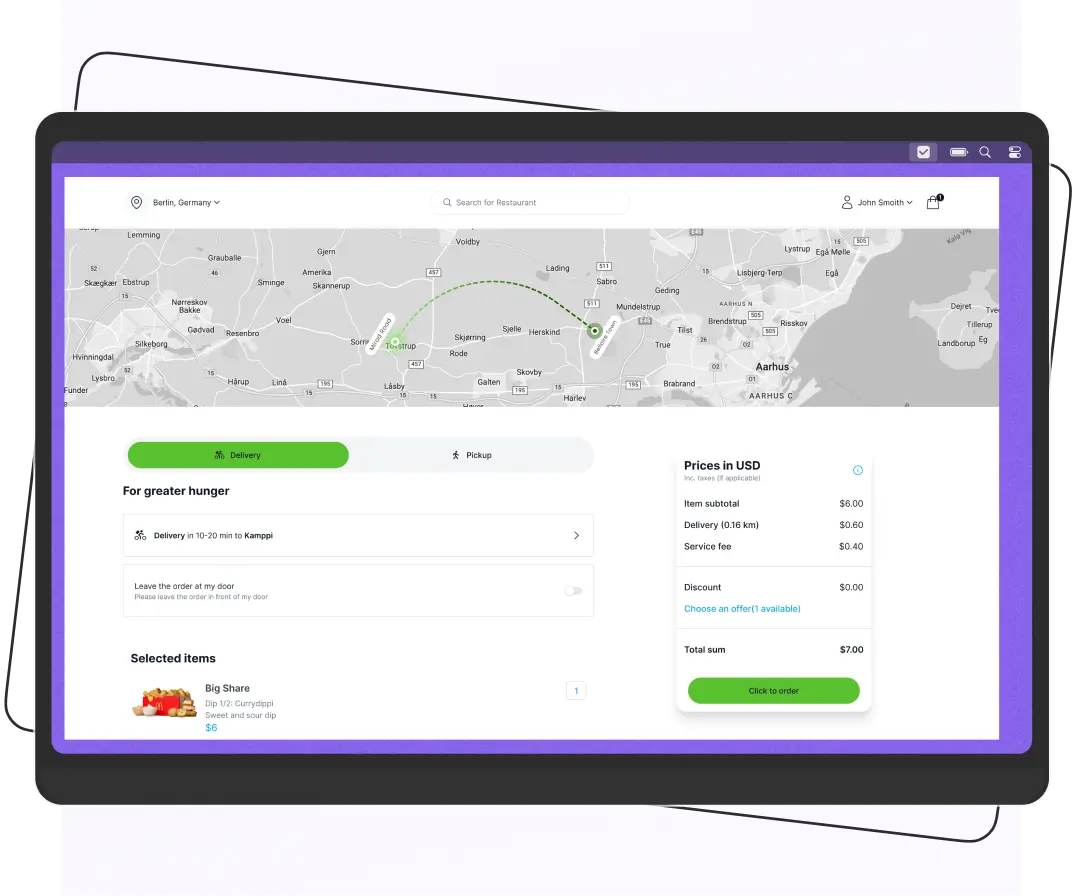
Designing an attractive UI for a food ordering app in React Native involves several key principles and best practices. Here are some steps to help you create a visually appealing and user-friendly interface: 1. Understand User Needs User Research: Identify your target audience and understand their preferences and pain points. User Journey Mapping: Map out the user journey to ensure the UI addresses all necessary touchpoints. 2. Choose a Color Palette Brand Colors: Use colors that reflect your brand’s identity while being appealing and easy on the eyes. Contrast: Ensure good contrast between text and background for readability. 3. Typography Font Selection: Choose clean, legible fonts that fit your brand. Consider using a combination of fonts for headings and body text. Hierarchy: Establish a clear hierarchy with font sizes and weights to guide users’ attention. 4. Consistent Layout Grid System: Use a grid system to create a consistent layout throughout the app. Spacing: Maintain adequate spacing between elements to avoid clutter and improve readability. 5. Visual Elements Images: Use high-quality images of food items. Consider using a consistent style for all images (e.g., filters). Icons: Incorporate intuitive icons for actions (like adding to cart) to enhance usability. 6. Navigation Design Bottom Navigation Bar: Use a bottom navigation bar for primary sections like Home, Menu, Cart, and Profile for easy access. Breadcrumbs: Implement breadcrumbs or back buttons to help users navigate easily. 7. Card Design for Menu Items Info Cards: Design attractive cards for menu items that include images, names, prices, and a brief description. Hover Effects: Use subtle hover effects to indicate interactivity. 8. Call-to-Action Buttons Prominent CTAs: Ensure call-to-action buttons (like "Order Now" or "Add to Cart") stand out with contrasting colors. Rounded Corners: Use rounded corners on buttons for a modern look. 9. Loading Indicators Spinners or Skeleton Screens: Use loading indicators while fetching data to keep users informed and engaged. 10. Feedback Mechanisms Toast Messages: Provide quick feedback (like "Item added to cart") through toast messages or alerts. Animations: Incorporate subtle animations for transitions and interactions to enhance user experience. 11. Testing and Iteration User Testing: Conduct usability testing to gather feedback on the UI and make necessary adjustments. A/B Testing: Experiment with different designs and layouts to determine which performs better.
The cost to develop a food ordering app in React Native ranges from $15,000 to $150,000, depending on features and complexity.


 Android
 Web
Web