Installation
How to setup Backend API
Prerequisite knowledge for running the app:
Pre-Installed Software:
- Latest or Stable version of Node Download
- Latest or Stable version of NPM
Backend API:
Access to the backend and API requires a license that must be purchased. Please get in touch with us using the methods listed below for more information:
- Email:✉sales@enatega.com
- To buy Backend Visit Enatega
Setup Instructions:
- Step 1: Make sure node.js is installed on your machine.
- Step 2: Open the backend API code in the code editor.
- Step 3: Follow the setup instructions provided in the video.
⚠ Note: Ensure that you have node.js installed before proceeding with the setup.
Enatega Multivendor | Backend Project Clone
Enatega Multivendor | MongoDB Setup
Enatega Multivendor | Firebase Setup
Enatega Multivendor | Backend API
Enatega Multivendor | Setup Redis
Step 1: Docker Setup
- Check Docker Installation: Ensure Docker is installed on your machine. If not, download it here.
- Navigate to Project Directory: After installing Docker, go to the project directory in your terminal.
Enatega Multivendor | Setup Docker
Step 2: Environment Variables
After setting up Docker, you’ll need to configure the environment variables. Follow these steps to modify or create the .env file with your credentials:
⚠ Note: If you do not find a .env file, create one in the root directory and paste the following contents into the .env file.
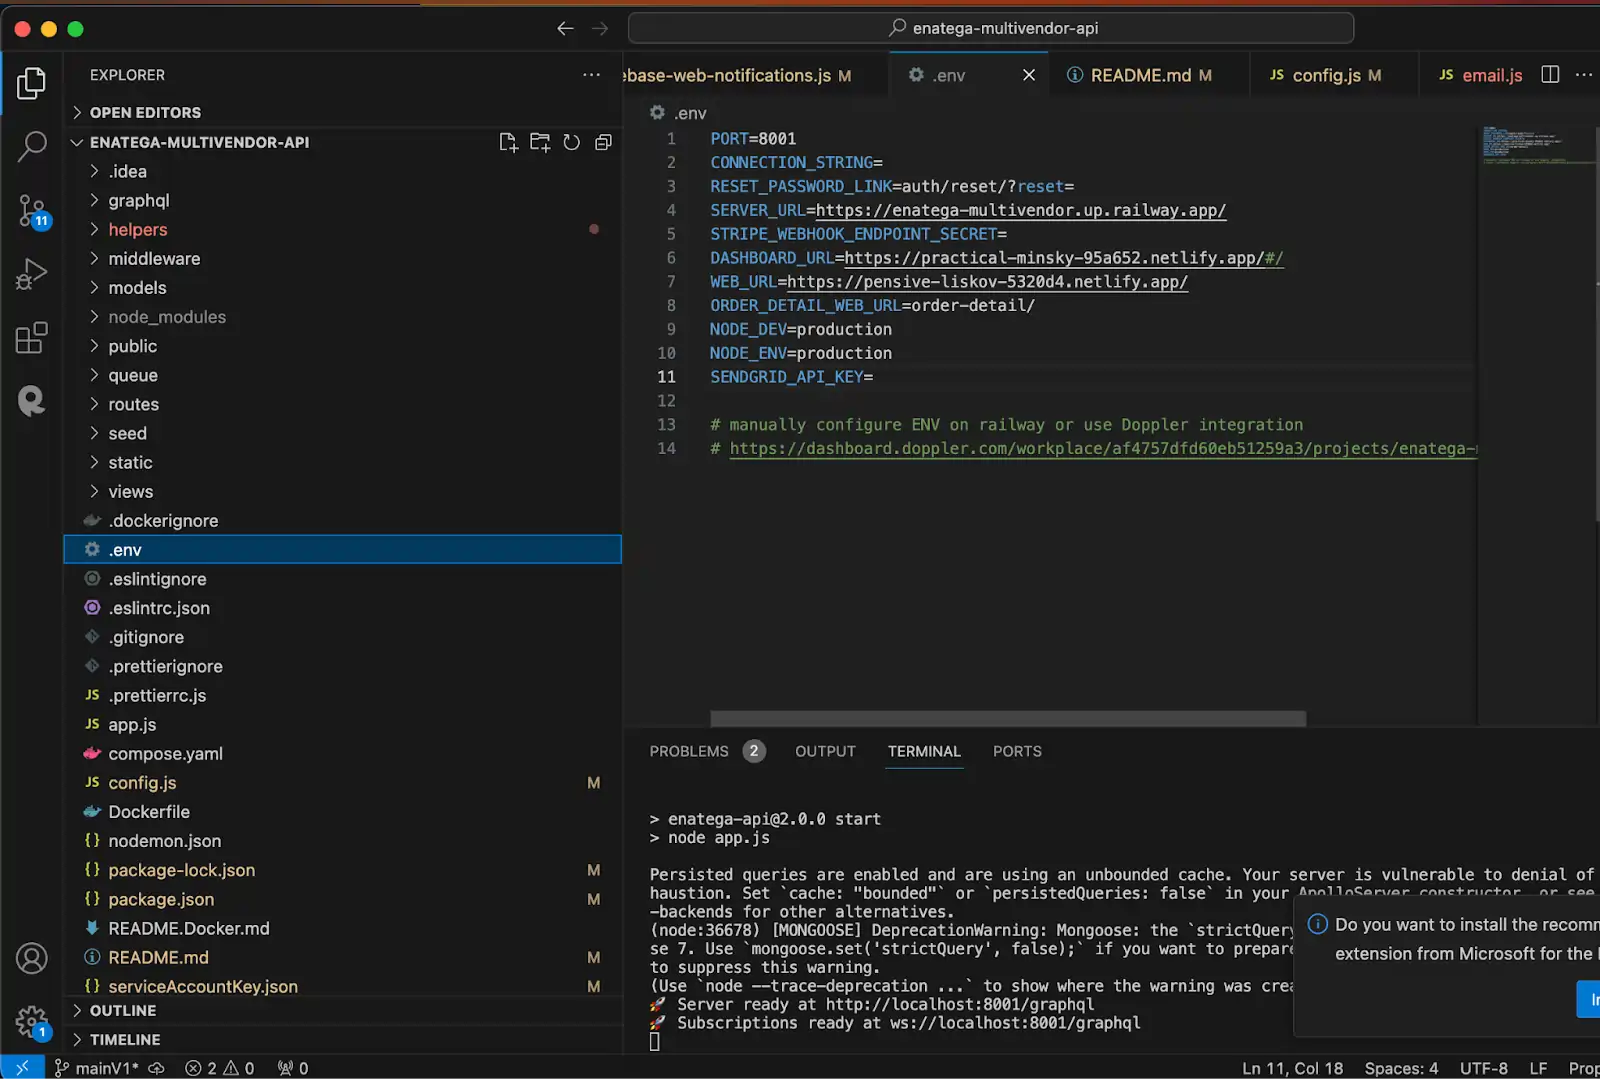
Contents of .env File
- PORT=8001
- CONNECTION_STRING=
- RESET_PASSWORD_LINK=auth/reset/?reset=
- SERVER_URL=https://enatega-multivendor.up.railway.app/
- STRIPE_WEBHOOK_ENDPOINT_SECRET=
- DASHBOARD_URL=https://practical-minsky-95a652.netlify.app/#/
- WEB_URL=https://pensive-liskov-5320d4.netlify.app/
- ORDER_DETAIL_WEB_URL=order-detail/
- NODE_DEV=production
- NODE_ENV=production
- SENDGRID_API_KEY=
ⓘ Environment Variables Explanation: Make sure to understand the purpose of each environment variable before modifying them.

Understanding the .env File
- Variable: Name of the variable
- Purpose: Description of the variable’s purpose
- Creation: Steps to create the variable
ⓘ Environment Variables
- PORT: The port number on which the server will run.
- CONNECTION_STRING: This variable contains the connection string for your MongoDB database. It includes the username and password needed to connect to the database, as well as the cluster URL and some connection options.
- RESET_PASSWORD_LINK: Link for resetting passwords.
- SERVER_URL: This variable specifies the base URL of your server. It’s the root URL where your backend API is hosted.
- STRIPE_WEBHOOK_ENDPOINT_SECRET: This variable is used for Stripe webhook verification. It’s a secret key that Stripe uses to sign webhook events, ensuring their authenticity.
- DASHBOARD_URL: URL for the dashboard.
- WEB_URL: URL for the web application.
- Deployment Steps for Netlify:
- Connect your code repository to your Netlify account.
- Specify the build settings and configurations for your dashboard and web app.
- Set custom domains or subdomains for your applications.
- Deployment Steps for Vercel:
- Connect your code repository and configure your settings.
- Set up custom domains for your dashboard and web app.
- ORDER_DETAIL_WEB_URL: This variable might be a partial URL used to construct links to specific order details in your application.
- NODE_DEV: Node development environment.
- NODE_ENV: Node environment.
- SENDGRID_API_KEY: Please enter your SendGrid API key if you intend to use SendGrid for sending emails; otherwise, leave this field empty.
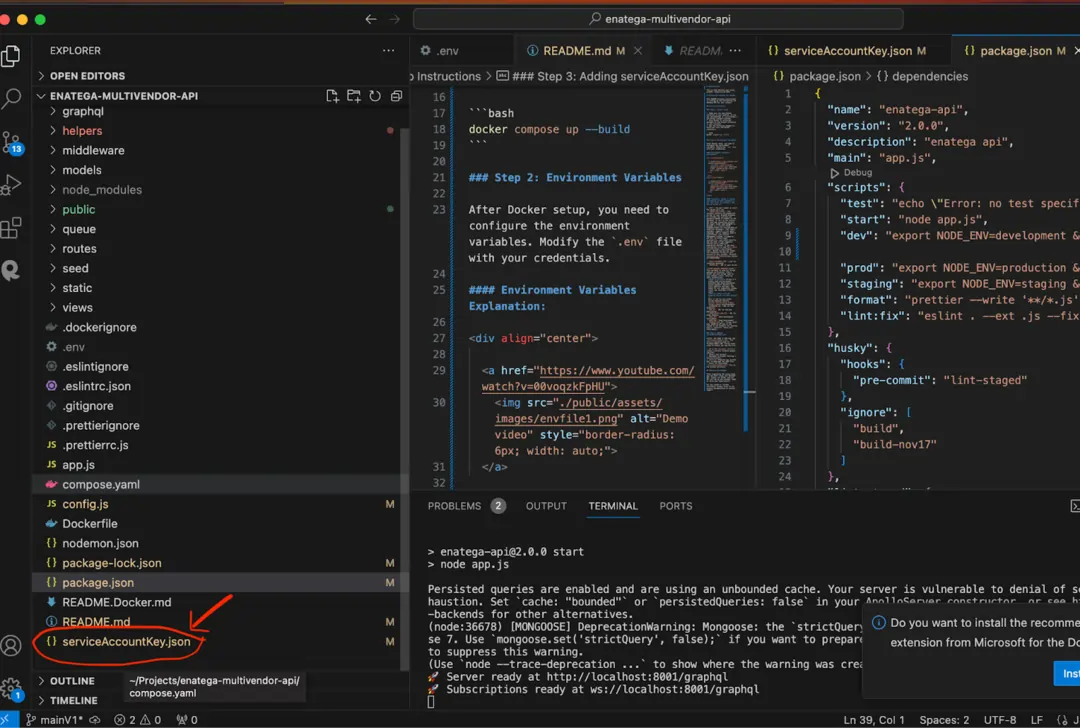
Step 3: Adding serviceAccountKey.json
Lastly, you need to add your own serviceAccountKey.json. This file is typically used for Firebase Admin SDK.
Follow these steps to obtain and add the file:
- Go to the Firebase Console.
- Select your project.
- Navigate to Project Settings > Service accounts.
- Click on “Generate new private key” to download the JSON file.
- Replace the downloaded serviceAccountKey.json file in the project directory.
Running the Backend:
After completing the setup steps, you can start using your backend API.
⚙️ Tip: Simply run Docker and your API will be up and running, ready to serve your application.
To build and start the Docker containers, run the following command:
- Use
docker compose up --build


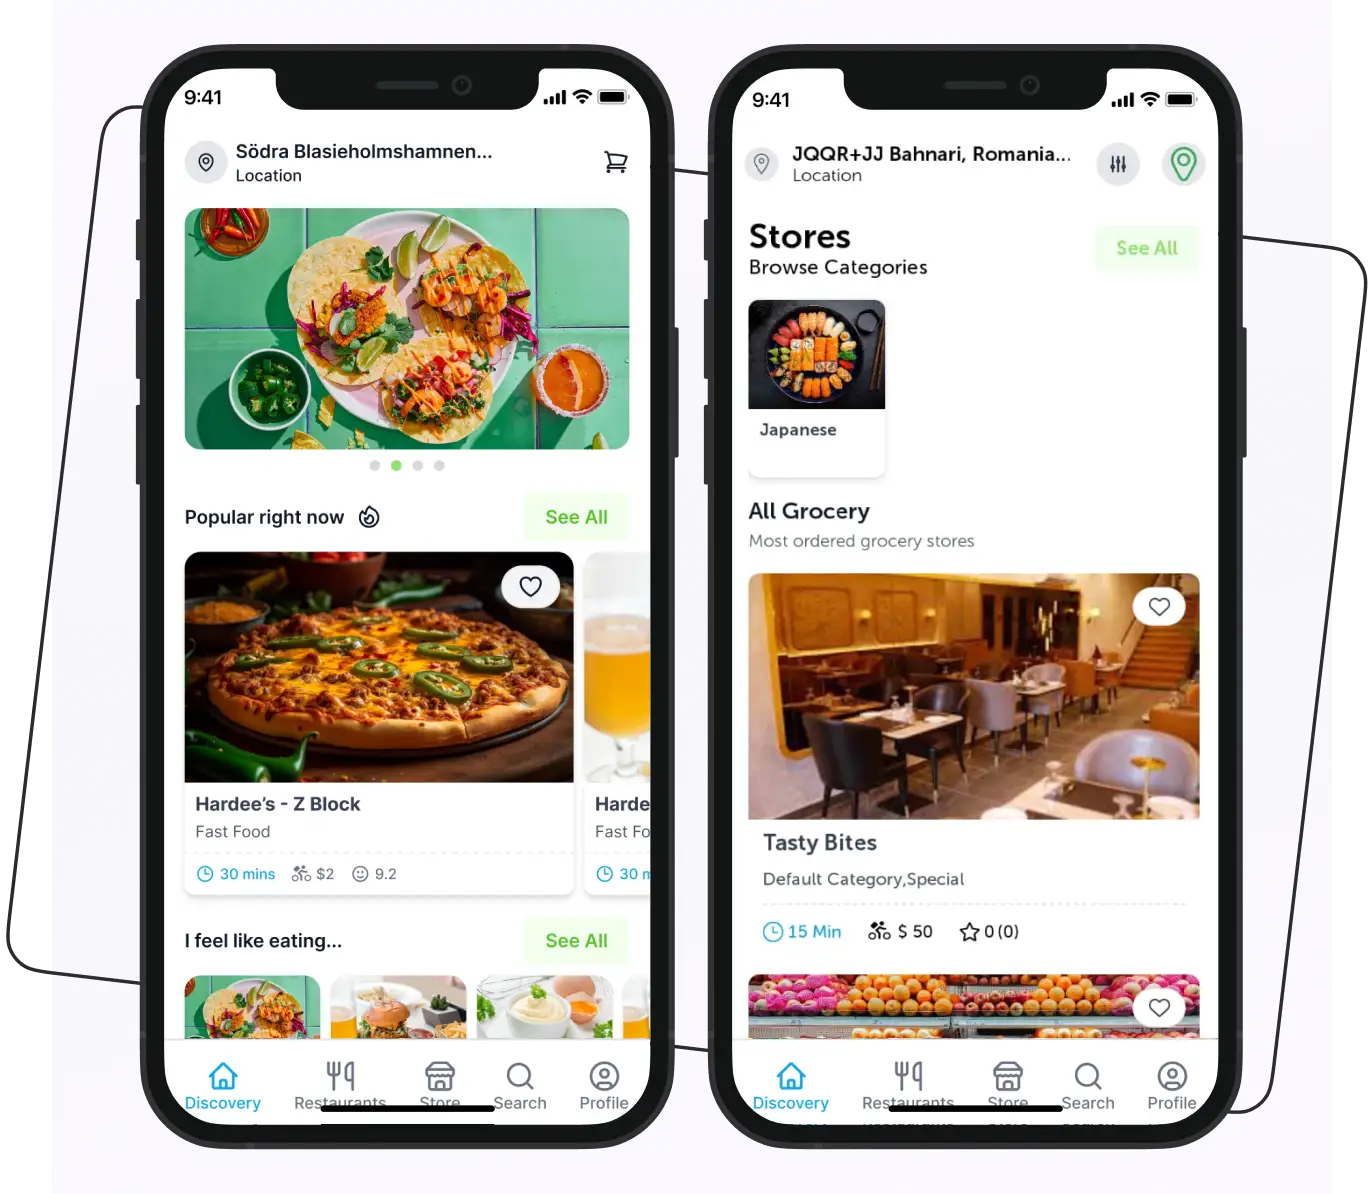
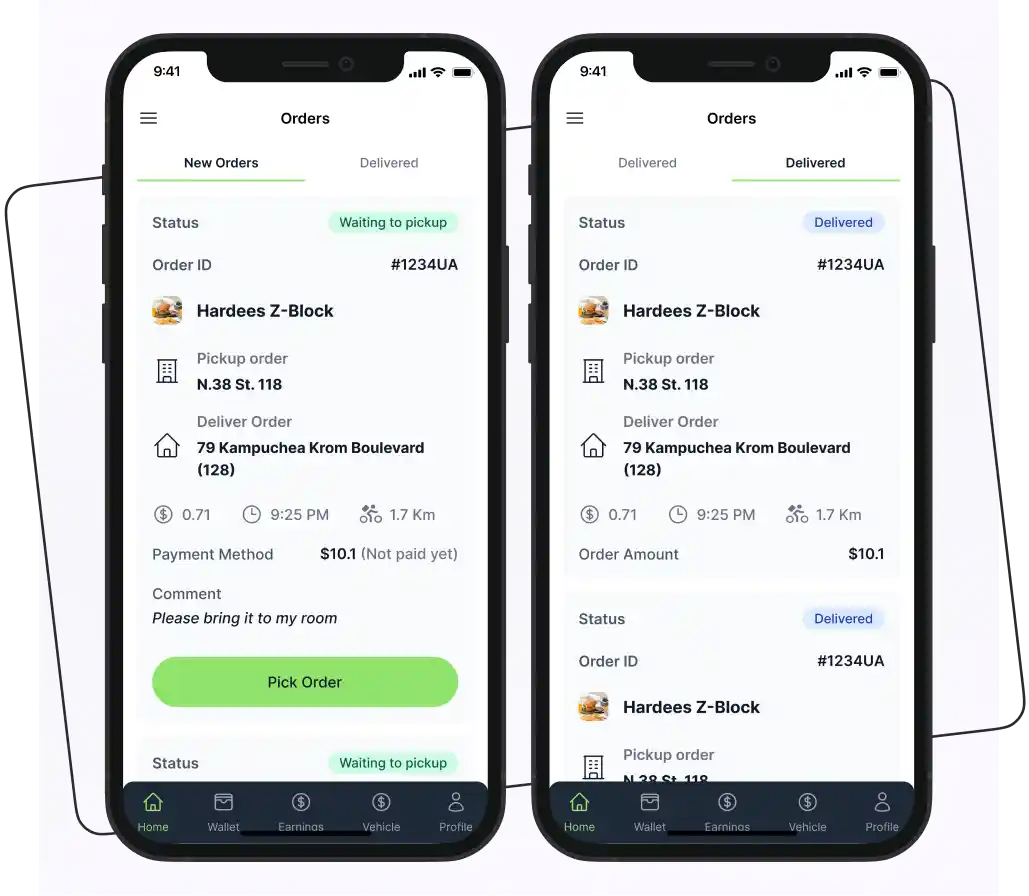
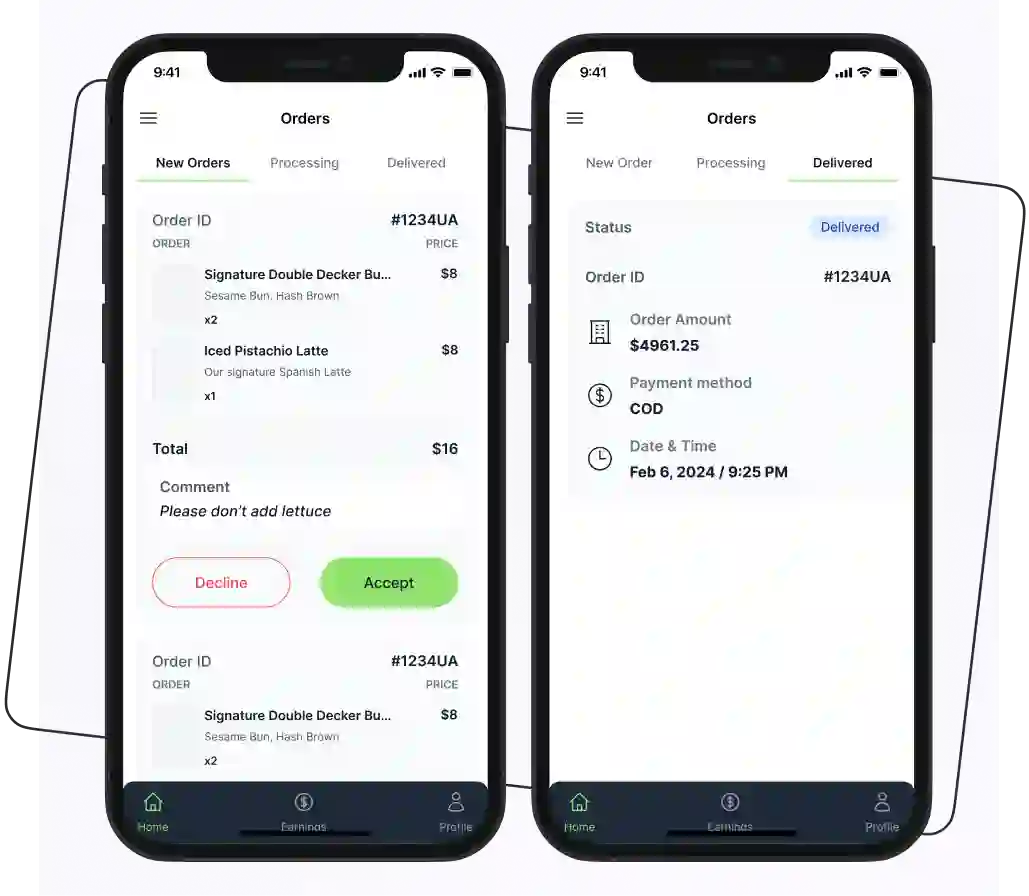
 Android
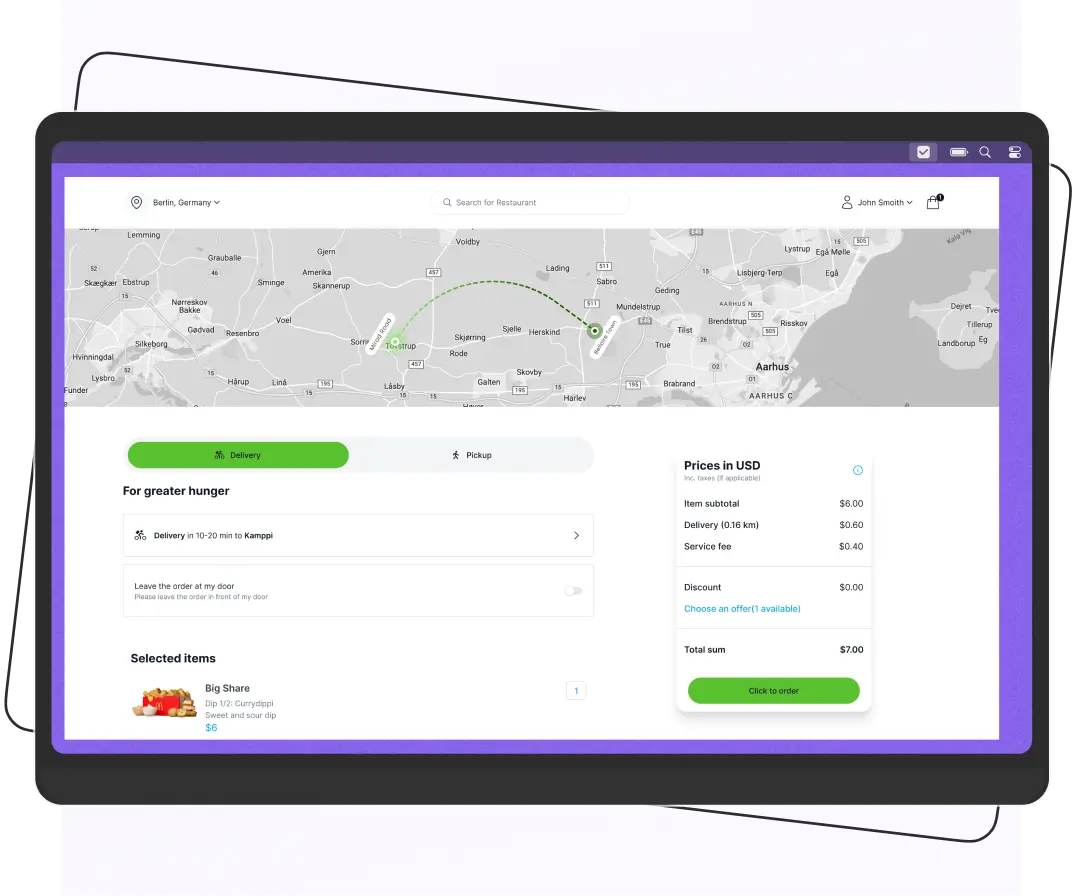
 Web
Web