Installation
How to deploy Web Dashboard
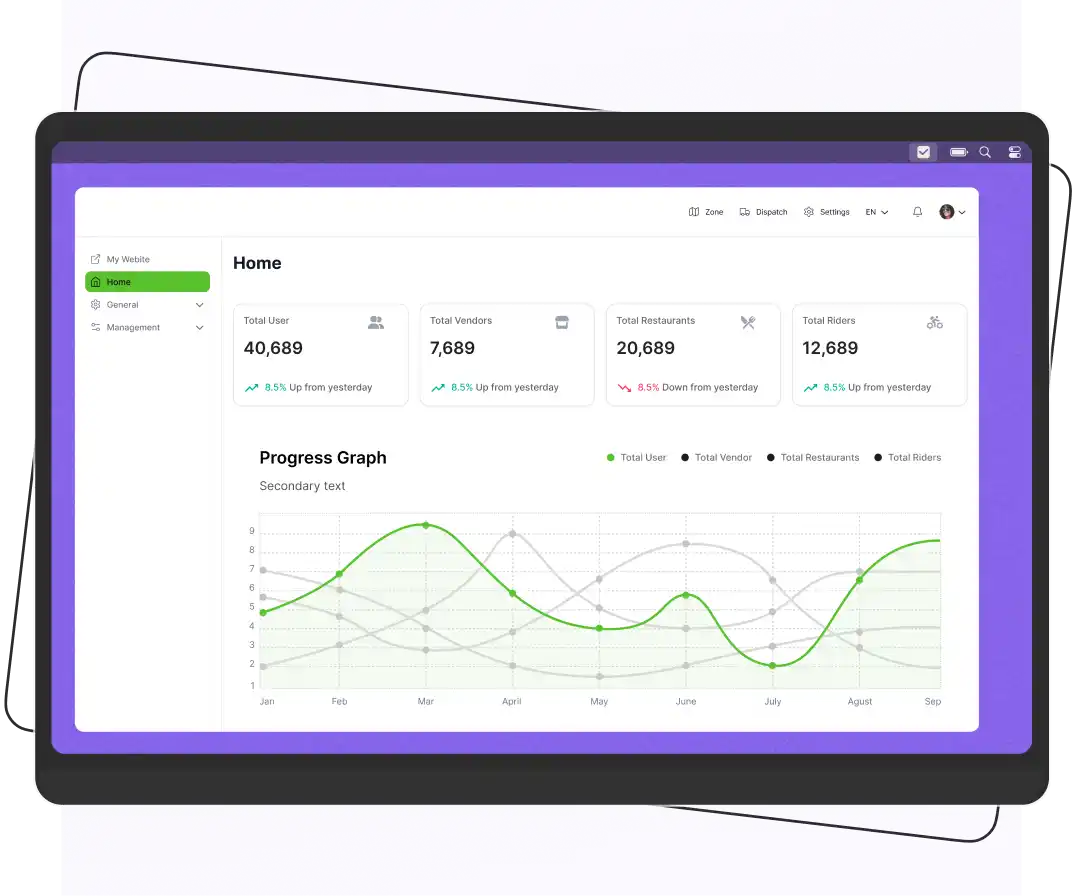
Enatega Multivendor | Customer Web Deployment
Clone or download source code from GitHub
- To download the Web Application Click here on Download Web Application.
Node.js must be set up on your computer to run the module. The following commands should be entered in the directory after nodejs have been installed.
- cd<Project directory>e.g cd enatega-multivendor-web
You need to change the following credentials in the contants.js file. We have numbered each variable, and the explanation is provided below each number.
Essentially, you are required to update ‘value#1’ and ‘value#2’, while the remaining values will be automatically retrieved from the configuration (database) once added through the admin panel. In the case that these values are not obtained from the configuration, kindly hardcode them in the ‘constants.js’ file.


Here’s an explanation of each variable in the .env file for your web application and its purpose:
- REACT_APP_SERVER_URL: This variable specifies the base URL of your backend server that the web application will communicate with. It’s essential for making API requests to your server.
- REACT_APP_WS_SERVER_URL: This variable defines the WebSocket server URL. WebSockets are used for real-time communication, and this URL is crucial for establishing WebSocket connections with your server.
What is SERVER_URL?: This variable specifies the base URL of your server. It’s the root URL where your backend API is hosted.
So What is an API? An API (Application Programming Interface) is a set of rules and protocols that allows different software applications to communicate with each other. A backend API is responsible for handling data and requests on the server-side of a software application.
The Backend code of this project is the API for this project.
To make your API accessible to the internet, you need a hosting service. A hosting service provides the infrastructure and resources to run your server, making it available 24/7. Hosting services can be cloud platforms (like Heroku, AWS or Digital Ocean) or specialized services like Railway Cloud.
How to Deploy to Backend API? Deploying means making your API server available and functional on the hosting service. This typically involves uploading your code, configuring the server, and ensuring it’s up and running.
Here is how you can Deploy your APi server and get the SERVER_URL for adding in the .env file.
Railway Cloud deployment Video - REACT_APP_GOOGLE_CLIENT_ID:
The REACT_APP_GOOGLE_CLIENT_ID is a unique identifier provided by Google when you register your web application with Google’s OAuth (Open Authorization) service. This ID serves as a means for your application to identify itself to Google when attempting to authenticate users through their Google accounts.
Here is how you can create the Google ID for the web
Configuring Google ID for Web Video - REACT_APP_STRIPE_PUBLIC_KEY: The Stripe public key is used to interact with the Stripe payment gateway. It’s necessary for handling online payments securely.
What is Stripe? Stripe is a widely-used online payment platform that helps businesses accept payments securely on their websites and apps. It’s known for its simplicity, global reach, and developer-friendly tools.
How to create a Stripe Endpoint Secret for this Project?
Here is how You can create Stripe endpoint Secrets
Stripe Configuration Video - REACT_APP_PAYPAL_KEY: This variable likely represents the PayPal API key, used for processing PayPal payments in your application.
What is PayPal? PayPal is a widely used online payment platform that allows individuals and businesses to send and receive payments securely over the Internet. It supports a variety of payment methods, including credit cards and bank transfers, making it a convenient and trusted way to handle online transactions.
To get more information click read more about Paypal.
How to configure PayPal for this Project?
Configuring PayPal for your application involves registering with PayPal and securely integrating it. Here’s a detailed breakdown:- Registration: Begin by registering for a PayPal Business account on the PayPal website. This account is required to accept payments for your products or services.
- Accessing Client Credentials: After registration, PayPal provides you with two crucial credentials: the Client ID and the Client Secret. These are like a username and password for your PayPal account, but they are meant for your application to securely interact with PayPal’s servers.
- Admin Dashboard: In the configurations area of your admin dashboard, you need to paste these credentials. This is where you configure your application to communicate with PayPal using the Client ID and Secret.
- Secure Integration: The Client ID and Secret are used to authenticate and authorize your application with PayPal. When customers make payments, your app securely communicates with PayPal’s servers using these credentials to process transactions.
- Payment Handling: With PayPal integrated, your application can accept payments from customers, and PayPal ensures the security and reliability of these transactions.
- REACT_APP_GOOGLE_MAPS_KEY: The Google Maps API key is a crucial component for integrating Google Maps and related location and mapping services into the application. This key serves as a unique identifier, granting your application access to Google’s mapping and geolocation features.
Here’s how you can create a Google Maps key for this project
Demonstration of google map api setup Video - REACT_APP_AMPLITUDE_API_KEY: This API key is essential for integrating Amplitude, an analytics and product intelligence service, into a React application.
The API key identifies your app when communicating with Amplitude’s servers. By using this key, you can gather data, analyze user behavior, and make data-informed decisions to optimize your application’s performance and user experience.
Amplitude helps businesses track and analyze user behavior, such as interactions and events within the app. It’s a critical tool for enhancing user satisfaction and app success.
To get more information click read more about amplitude.
Here’s how you can create an Amplitude API key for this project
Configuring Amplitude Video - REACT_APP_GOOGLE_MAP_LIBRARIES: This variable specifies which Google Maps libraries are included in your application. It can help optimize your application by only including the necessary libraries.
- REACT_APP_GOOGLE_COLOR: This variable may be used to define a specific color associated with Google-related elements in your application.
- REACT_APP_SENTRY_DSN: Similar to the backend, this Sentry DSN is used to report and monitor errors and exceptions on the front end of your application.
This variable contains the Data Source Name (DSN) that Sentry uses to report errors and exceptions from your application. To get more information click read more about Sentry.
Here is how you can configure sentry and create SENTRY_DSN_LINK for this project
Configuring Sentry Video - REACT_APP_ENV: It defines the environment in which the web application is running. In this case, it’s set to “prod,” indicating that the application is in production. After setting the (.env) file, run the following commands:
- npm install
- npm run build
How to deploy a react application?
To deploy these applications, you can use hosting platforms like Netlify and Vercel, which specialize in hosting web applications. These platforms provide an easy and streamlined deployment process.
One of the simplest is to use Netlify. By looking through this documentation, you can browse through its user manual.
Deployment Steps
Netlify
- For Netlify, you would typically connect your code repository (e.g., on GitHub or GitLab) to your Netlify account.
- Specify the build settings and configurations for your dashboard and web app.
- Netlify will automatically build and deploy your applications when you push changes to your repository.
- You can set custom domains or subdomains for your applications, which will become the URLs for your dashboard and web app.
Vercel
- Vercel offers a similar process. You connect your code repository, configure your settings, and Vercel handles the build and deployment.
- Custom domains can be set up on Vercel to determine the URLs for your dashboard and web app.


 Android
 Web
Web