Installation
How to deploy backend API server
Download or clone the source code, then extract it and open the extracted folder in a terminal. You must have node js installed on your computer to launch the module. After installing nodejs, open the directory and type the following commands:
- cd <Project directory> e.g. cd enatega-multivendor-api
After opening the backend API code in the code editor, you need to follow the following setup instructions:
Setup Instructions
Enatega Multivendor | Backend API Deployment
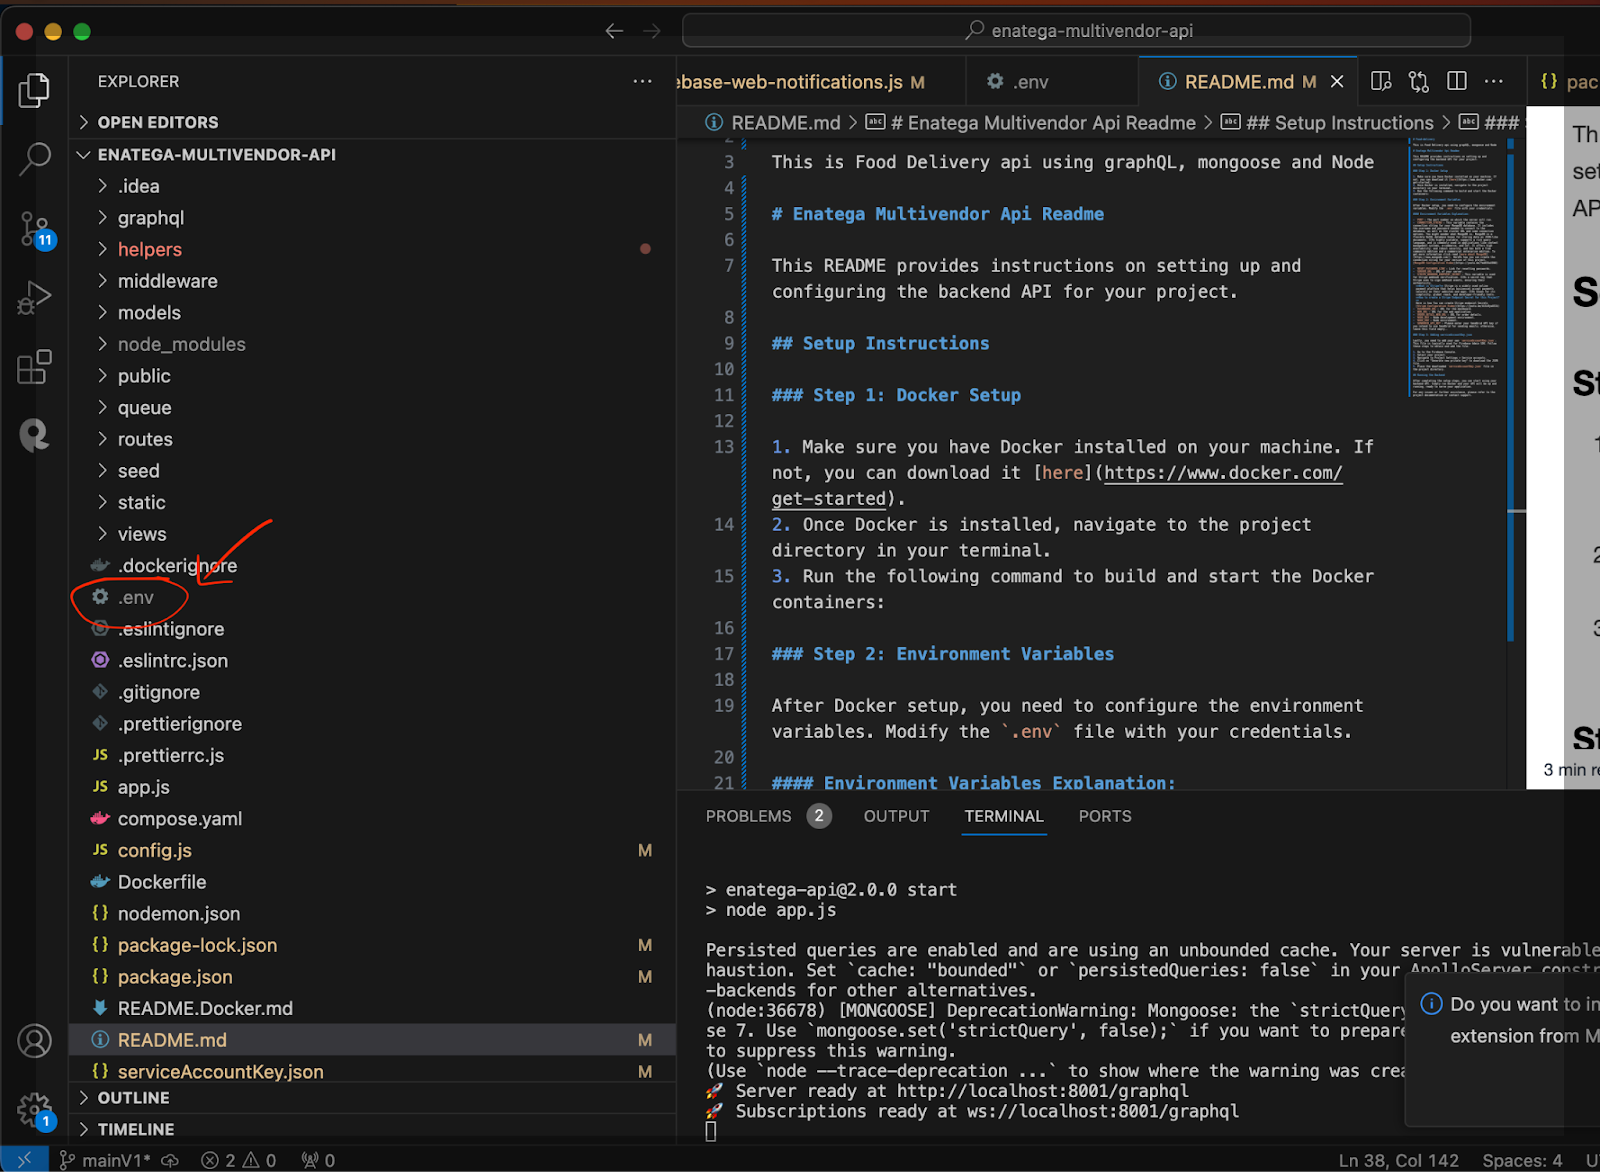
Step 1: Docker Setup
- Make sure you have Docker installed on your machine. If not, you can download it here.
- Once Docker is installed, navigate to the project directory in your terminal.
Step 2: Environment Variables
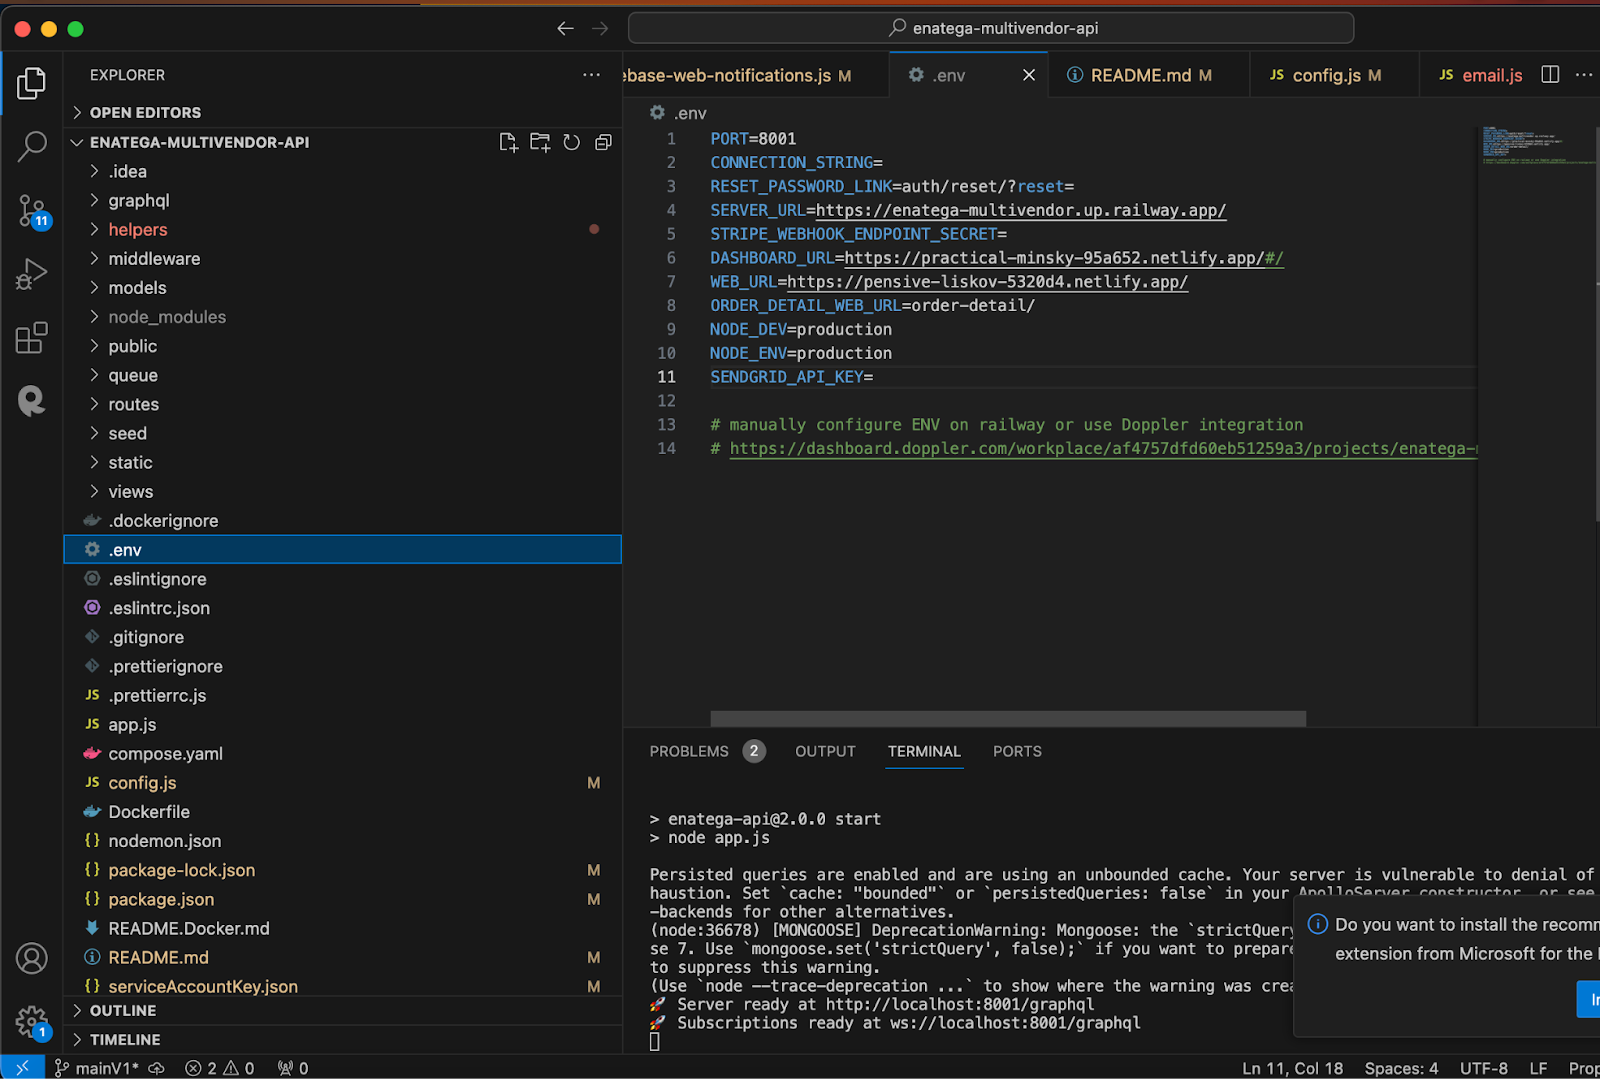
After Docker setup, you need to configure the environment variables. Modify the .env file with your credentials.If you do not find a .env file, create one in the root directory and paste the following contents into the .env file.
PORT=8001
CONNECTION_STRING=
RESET_PASSWORD_LINK=auth/reset/?reset=
SERVER_URL=https://enatega-multivendor.up.railway.app/
STRIPE_WEBHOOK_ENDPOINT_SECRET=
DASHBOARD_URL=https://practical-minsky-95a652.netlify.app/#/
WEB_URL=https://pensive-liskov-5320d4.netlify.app/
ORDER_DETAIL_WEB_URL=order-detail/
NODE_DEV=production
NODE_ENV=production
SENDGRID_API_KEY=
Environment Variables Explanation:
Certainly, here’s a concise explanation of each variable in the .env file, its purpose, and how to create it:
- PORT: The port number on which the server will run.
- CONNECTION_STRING: This variable contains the connection string for your MongoDB database. It includes the username and password needed to connect to the database, as well as the cluster URL and some connection options.
You might wonder what MongoDB is. MongoDB is a flexible NoSQL database known for storing data as JSON-like documents. It’s highly scalable, supports a rich query language, and is commonly used in applications like content management systems, e-commerce, and IoT. It offers high availability, and robust security, and has both a free community edition and a commercial enterprise edition. To get more information click read more about MongoDB. Here’s how you can create the connection string for your version of this project. MongoDB Configuration Video - RESET_PASSWORD_LINK: Link for resetting passwords.
- SERVER_URL: This variable specifies the base URL of your server. It’s the root URL where your backend API is hosted. Initially, paste your local server URL, and later when you deploy your server in any cloud platform, replace it with your live server link.
How to Deploy to Backend API? Deploying means making your API server available and functional on the hosting service. This typically involves uploading your code, configuring the server, and ensuring it’s up and running. Here is how you can Deploy your APi server and get the SERVER_URL for adding in .env file. Railway Cloud deployment Video - STRIPE_WEBHOOK_ENDPOINT_SECRET: This variable is used for Stripe webhook verification. It’s a secret key that Stripe uses to sign webhook events, ensuring their authenticity.
What is Stripe? Stripe is a widely used online payment platform that helps businesses accept payments securely on their websites and apps. It’s known for its simplicity, global reach, and developer-friendly tools.
How to create a Stripe Endpoint Secret for this Project?
Here is how You can create Stripe endpoint Secrets
Stripe Configuration Video - DASHBOARD_URL: URL for the dashboard.
- WEB_URL: URL for the web application.
Deploying an Admin Dashboard and Web Application
To deploy these applications, you can use hosting platforms like Netlify and Vercel, which specialize in hosting web applications. These platforms provide an easy and streamlined deployment process.One of the simplest is to use Netlify. By looking through this documentation, you can browse through its user manual.
Deployment Steps- Netlify
- For Netlify, you would typically connect your code repository (e.g., on GitHub or GitLab) to your Netlify account.
- Specify the build settings and configurations for your dashboard and web app. Netlify will automatically build and deploy your applications when you push changes to your repository.
- You can set custom domains or subdomains for your applications, which will become the URLs for your dashboard and web app.
- Vercel
- Vercel offers a similar process. You connect your code repository and configure your settings, and Vercel handles the build and deployment.
- Custom domains can be set up on Vercel to determine the URLs for your dashboard and web app.
- Netlify
- ORDER_DETAIL_WEB_URL: This variable might be a partial URL used to construct links to specific order details in your application.
- NODE_DEV: Node development environment.
- NODE_ENV: Node environment.
- SENDGRID_API_KEY: Please enter your SendGrid API key if you intend to use SendGrid for sending emails; otherwise, leave this field empty.
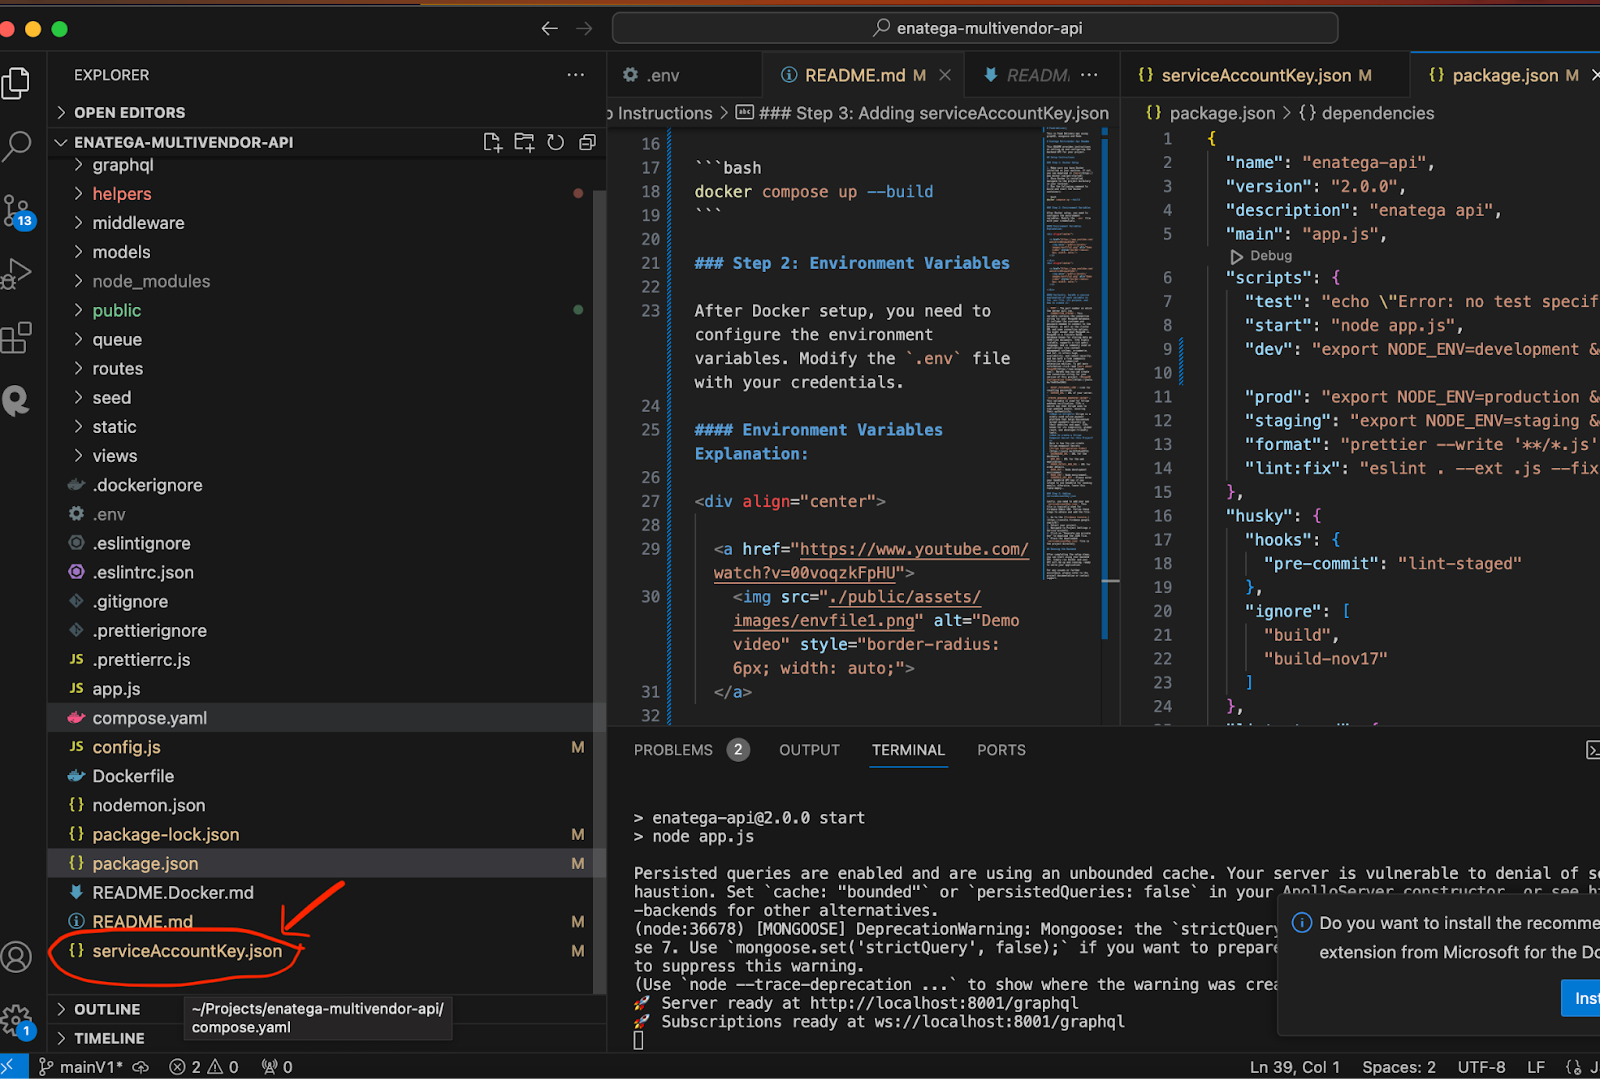
Step 3: Adding serviceAccountKey.json
Lastly, you need to add your own serviceAccountKey.json. This file is typically used for Firebase Admin SDK. Follow these steps to obtain and add the file:
- Go to the Firebase Console.
- Select your project.
- Navigate to Project Settings > Service accounts.
- Click on “Generate new private key” to download the JSON file.
- Replace the downloaded serviceAccountKey.json file in the project directory.
Running the Backend:
After completing the setup steps, you can start using your backend API. Simply run Docker and your API will be up and running, ready to serve your application.Run the following command to build and start the Docker containers:
docker compose up --buildFor any issues or further assistance, please contact support.


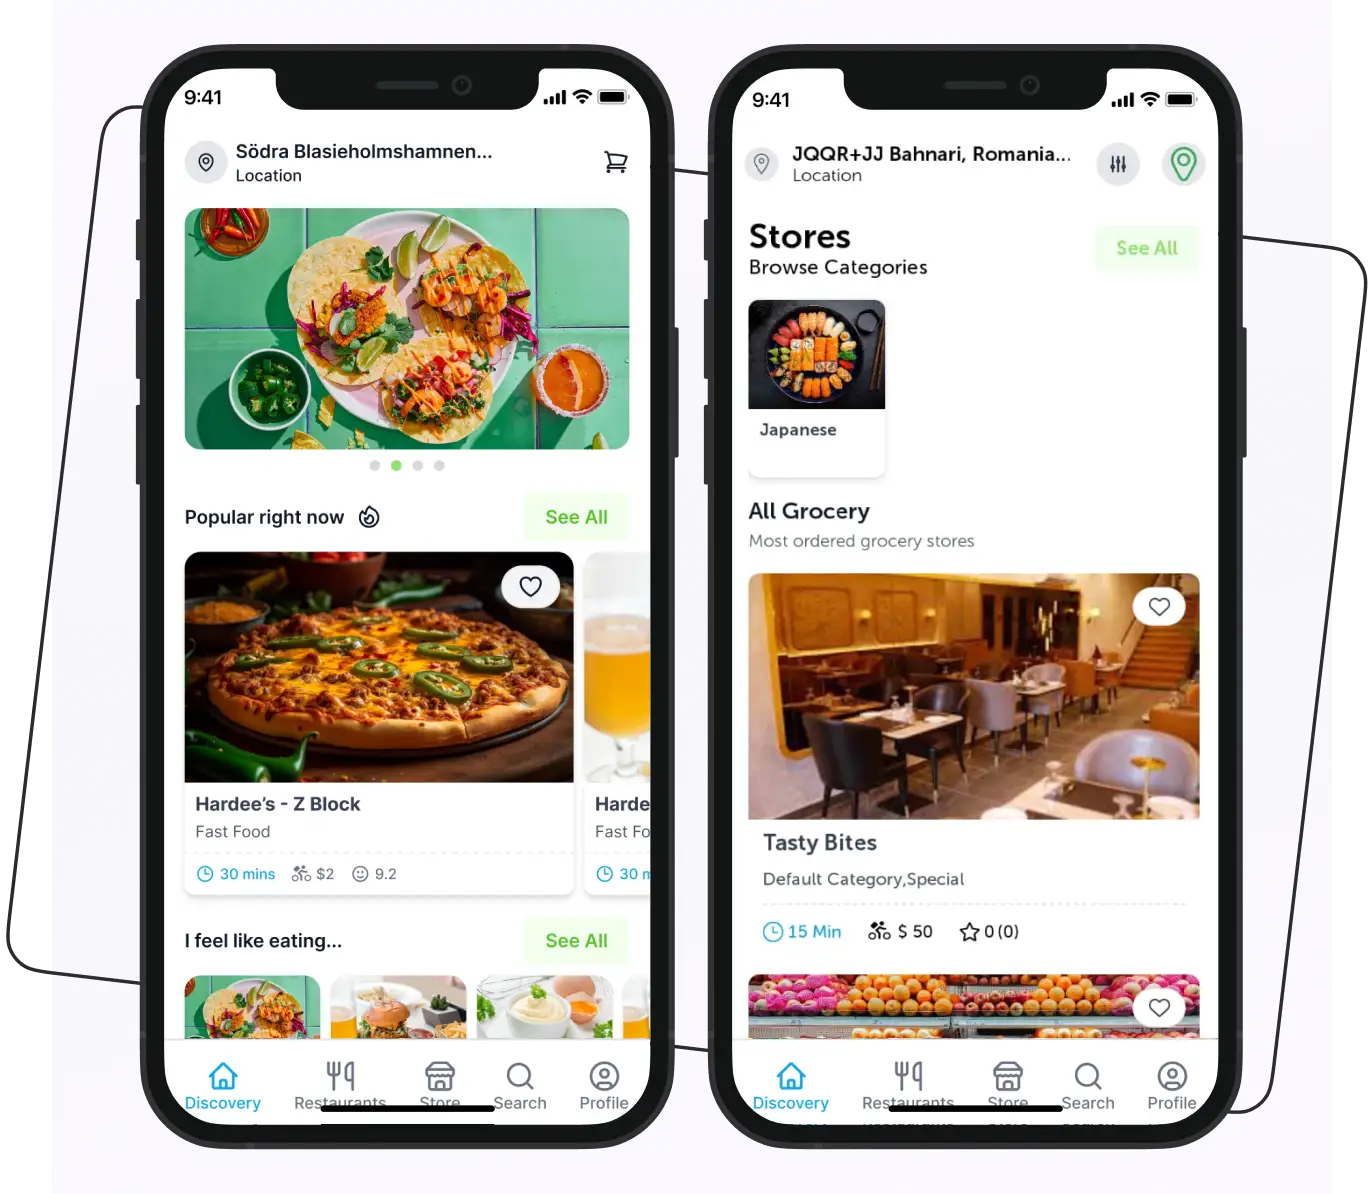
 Android
 Web
Web