Installation
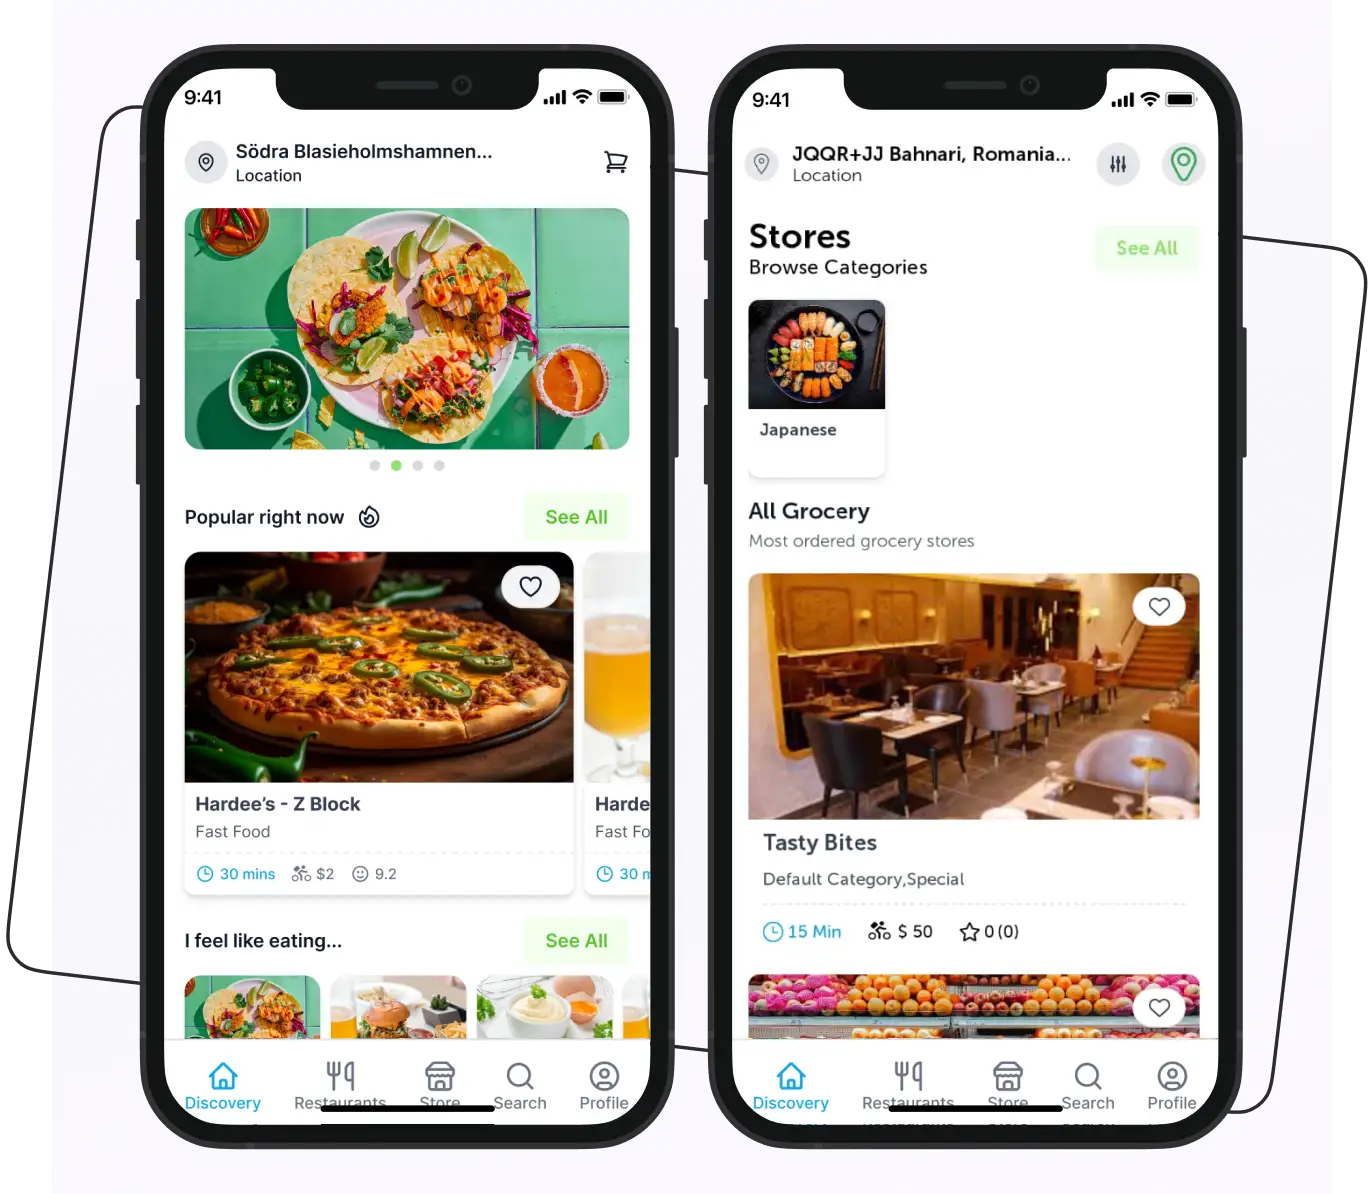
How to setup Customer App
- Clone or download source code from GitHub
- To download the Customer App Click here on Download Enatega Multivendor.

⚠ Note: Ensure you have Node.js installed on your computer to launch the module.
- After installing Node.js:
- Open the Enatega MultiVendor code in a code editor.
- To run the
enatega-multivendor-app, open it in the integrated terminal by:- Right-clicking on the
enatega-multivendor-appfolder and selecting “Open in Integrated Terminal” - Or by using the following command in the terminal:
- Right-clicking on the
cd <Project directory>For example:
cd enatega-multivendor-app
- To test the Customer App(you don’t have own server url) and check the look and feel, no changes are needed.
- To run the customer app against your own server URL:
- Go to the
environment.jsfile - Replace the following in
environment.js:GRAPHQL_URLWS_GRAPHQL_URLSERVER_URLGoogle_MAPS_KEY
- Go to the
- After completing all the configurations, it’s time to run the Customer App.
- To run the Enatega Customer App, open the terminal and run the following commands:
npm install (or yarn install) npm start
When you run the commands, you have two options to run your app:
- Development build
- Using Expo Go
To run the app using Expo Go:
- Press
Sto switch to Expo Go from the development build. - You can either:
- Use the Expo Go app to scan the QR code to run the app.
- Use an iOS or Android simulator to run the app.
⚠ Note:
The “Continue with Google” feature may not work in the Expo Go app due to certain limitations. The package react-native-google-signin used for Google login does not work on Expo managed projects. For a seamless experience, and to easily run the app in the Expo Go app and Expo simulator, we have removed it. “Continue with Google” is available in production.
Reference: https://react-native-google-signin.github.io/docs/setting-up/expo


 Android
 Web
Web