Installation
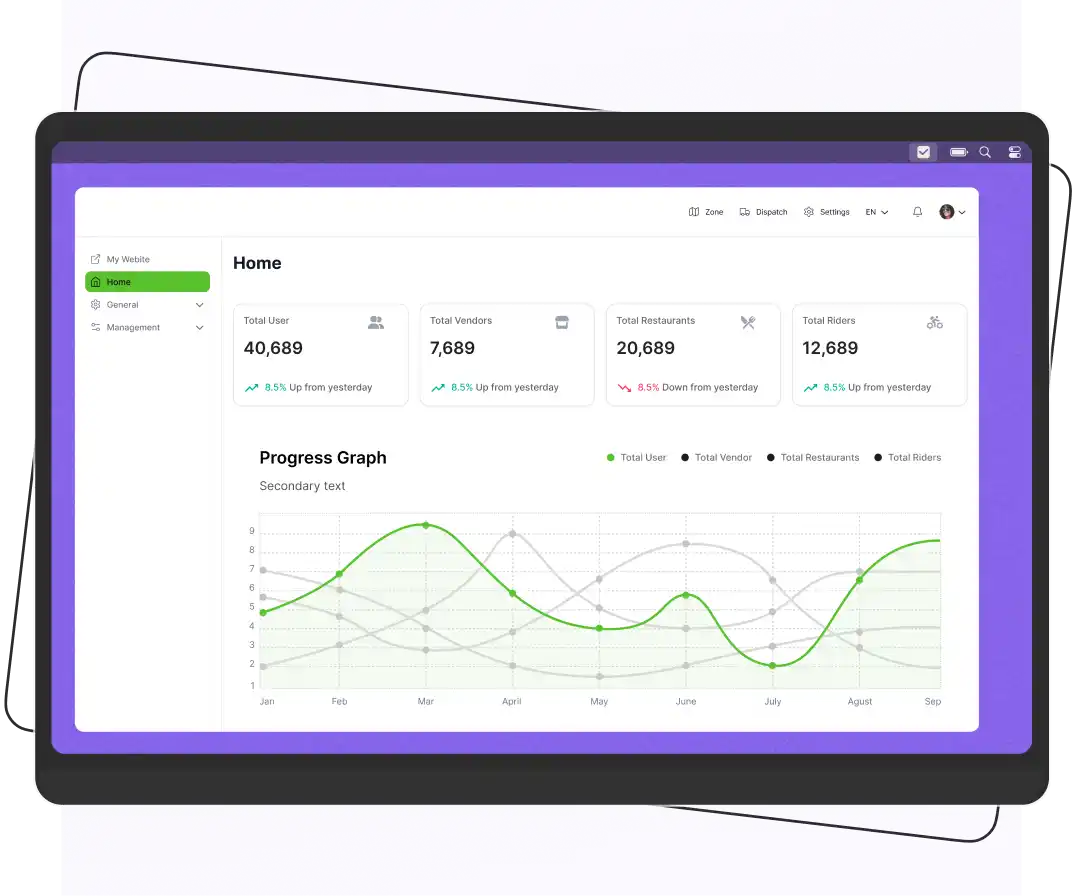
How to setup Admin Dashboard
- Clone or download source code from GitHub
- To download the Admin Dashboard Click here on Download Enatega Multivendor.
⚠ Note: Ensure you have Node.js installed on your computer to launch the module.
- After installing Node.js:
- Open the Enatega MultiVendor code in a code editor.
- To run the
enatega-multivendor-admin, open it in the integrated terminal by:- Right-clicking on the
enatega-multivendor-adminfolder and selecting “Open in Integrated Terminal” - Or by using the following command in the terminal:
- Right-clicking on the
cd <Project directory>For example:
cd enatega-multivendor-admin
- To test the Admin(you don’t have own server url) and check the look and feel, no changes are needed.
- To run the Admin against your own server URL:
- Go to the
srcfolder. - Inside the
srcfolder, go to theconfigfolder. - In the
configfolder, openconstants.js. - Replace the following in
constants.js:SERVER_URLWS_SERVER_URLGOOGLE_MAPS_KEY
- Go to the
- After completing all the configurations, it’s time to run the admin dashboard.
- To run the admin dashboard, open the terminal and run the following commands:
npm install (or yarn install) npm start


 Android
 Web
Web